


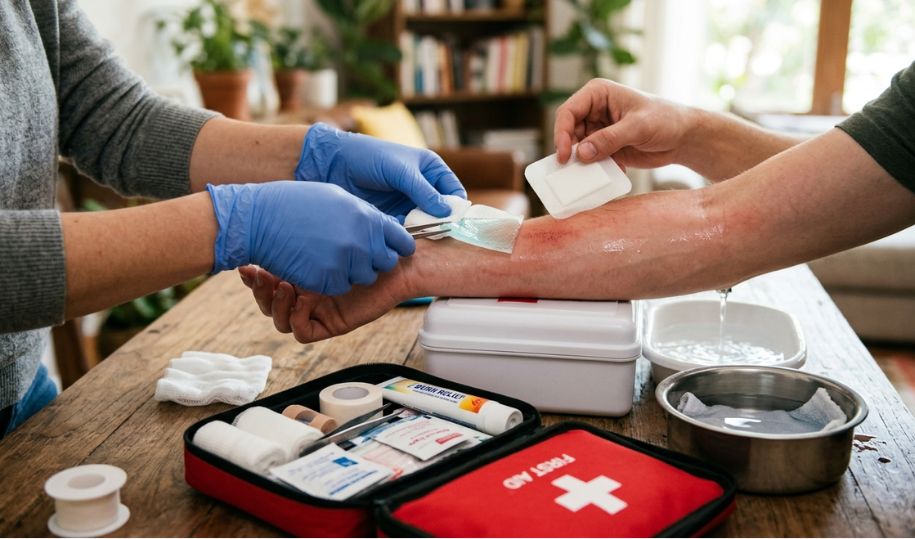
Knowing how to treat a burn using a first aid kit allows you to respond quickly and confidently when accidents occur. Burns are common injuries that can happen anywhere from kitchen mishaps with boiling water to workplace exposure to chemicals. Having a clear, simple process for treatment helps minimize tissue damage, speed up recovery, and prevent infection.
Safety Disclaimer: When to Seek Medical Help
This guide covers minor (first-degree) burn treatment only. Seek emergency care immediately for:
- Deep (third-degree) burns or burns larger than 3 inches.
- Burns affecting the face, neck, hands, feet, or joints.
- Any electrical or chemical burns (these can cause internal damage).
- Signs of shock, difficulty breathing, or severe pain.
Step 1: Stop the Burning Process
The first and most critical action is to halt the heat source immediately to prevent further tissue damage.
- Move away: Safely move the individual from flames, steam, or hot surfaces.
- Remove hazards: Gently take off jewelry, watches, or restrictive clothing near the burn before the area starts to swell. Do not pull clothing that is stuck to the skin.
- Stop, Drop, and Roll: Use this technique if clothing is actively on fire.


Step 2: Cool the Burn Area
Cooling is vital to lower the tissue temperature and stop the burn from "cooking" deeper layers of skin.
- Run cool (not cold) running water over the burn for 10 to 20 minutes.
- Avoid Ice: Never use ice or ice water. Extreme cold can constrict blood flow and cause further tissue damage (frostbite).
- No Soaking: Running water is preferred over a still soak to help dissipate heat more effectively.
Step 3: Apply a Burn Dressing
Once the skin is completely cooled, you can protect the injury to promote healing and reduce pain.
- Pat Dry: Use a sterile gauze pad. Blot gently never rub.
- Apply Gel or Ointment: Use a specialized burn gel to soothe. Use antibiotic ointment only if the skin is broken or a blister has popped.
- Cover Loosely: Place a non-stick gauze pad over the area.
- Secure: Wrap loosely with a bandage to keep the gauze in place without restricting circulation.


Step 4: Manage Pain and Swelling
Recovery is easier when the patient is comfortable. Follow these tips to manage the aftermath:
- Elevation: If possible, keep the burned area elevated above heart level to reduce throbbing and swelling.
- OTC Medication: Ibuprofen or Acetaminophen can help manage inflammation and pain.
- Monitor: Check the burn daily for signs of infection, such as increased redness, swelling, or pus.
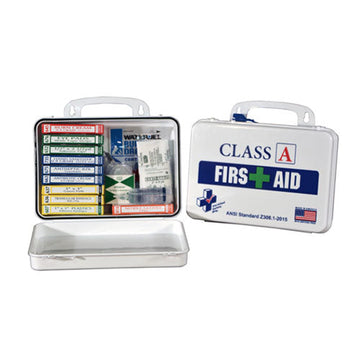
Essential First Aid Kit Items for Burns
| Item | Purpose |
|---|---|
| Sterile Gauze | Protects the wound from bacteria and dirt. |
| Non-Stick Dressings | Ensures the bandage doesn't tear healing skin during changes. |
| Burn Gel (Water-Jel) | Instantly cools the burn and provides pain relief. |
| Antibiotic Ointment | Prevents infection in broken skin. |
| Nitrile Gloves | Keeps the treatment area sterile and the caregiver safe. |
⚠️ What NOT to Do
Avoid these common "home remedies" that can actually make a burn worse:
- No Butter or Oils: These trap heat in the skin and increase the risk of infection.
- No Toothpaste: This can irritate the wound and introduce harmful chemicals.
- Never Pop Blisters: Blisters act as a natural, sterile "bandage." Popping them increases the risk of infection.
- No Direct Ice: Prevents frostbite on delicate, damaged tissue.
Conclusion
Successful burn treatment is a race against time. By cooling the injury quickly and using a properly stocked first aid kit, you can manage minor injuries effectively at home. Preparation is key ensure your kit is replenished before an accident happens.


