


Knowing how to treat a burn using a first aid kit allows you to respond quickly and confidently when accidents occur. Burns are common injuries that can happen in many situations, making it essential to understand basic burn care whether you’re at home, at work, or on the go.
Common causes include kitchen mishaps with hot liquids or steam, workplace exposure to heat sources or chemicals, and contact with hot surfaces or open flames. Having a clear, simple process for first-aid treatment helps minimize damage, speed up recovery, relieve discomfort, and prevent infection.
Safety Disclaimer: When to Seek Medical Help
This guide covers minor burn treatment only, and it’s important to recognize when professional medical attention is needed. Seek emergency care for large or deep burns, burns affecting sensitive areas such as the face, neck, hands, feet, genitals, or joints, and any electrical or chemical burns. You should also get immediate help if the burn is accompanied by difficulty breathing, severe pain, or signs of shock. Prompt medical evaluation ensures proper treatment and reduces the risk of serious complications.
Step 1: Stop the Burning Process

The first and most critical action in burn treatment is to stop the burning process immediately. This step prevents further tissue damage and sets the foundation for effective first aid.
Key actions to take:
- Remove the person from the heat source - If the burn is caused by flames, hot surfaces, or steam, safely move the individual away from the source to halt ongoing exposure.
- Eliminate contact with hot liquids or chemicals - Carefully remove any clothing or jewelry near the affected area that may retain heat or chemicals. Avoid pulling off clothing stuck to the skin to prevent additional injury.
- Extinguish flames on clothing - If a person's clothing catches fire, instruct them to stop, drop, and roll to smother flames quickly.
- Avoid panicking - Swift and calm response ensures safer handling of the situation without causing further harm.
This initial intervention is vital because continued exposure intensifies tissue injury, increasing pain and complicating recovery. Once the burning has stopped, attention can focus on cooling and protecting the wound.
Step 2: Cool the Burn Area

Cooling the burn area is a critical step in how to treat a burn with your first aid kit effectively. Applying cool or lukewarm running water to the affected skin helps stop the burning process by lowering the temperature of the tissue. This action reduces pain intensity, limits swelling, and minimizes further damage.
Key guidelines for cooling a burn:
- Run cool or lukewarm water gently over the burn for 10 to 20 minutes. This duration allows adequate cooling without causing discomfort or shock.
- Avoid cold or iced water directly on the skin because extreme cold can worsen tissue injury, potentially leading to frostbite or increased damage.
- Do not use ice packs or ice cubes wrapped in cloth; these can constrict blood vessels and reduce circulation in the burned area.
- If running water is unavailable, immerse the burn in a clean container filled with cool water, ensuring it is not too cold.
Cooling also provides relief by temporarily numbing nerve endings, helping manage pain before you apply dressings or ointments from your first aid kit. It’s important not to delay this step, as prompt cooling can significantly improve healing outcomes. By keeping these precautions in mind, you ensure that when treating burns, you are effectively reducing heat-related tissue damage while properly preparing the wound for further care.
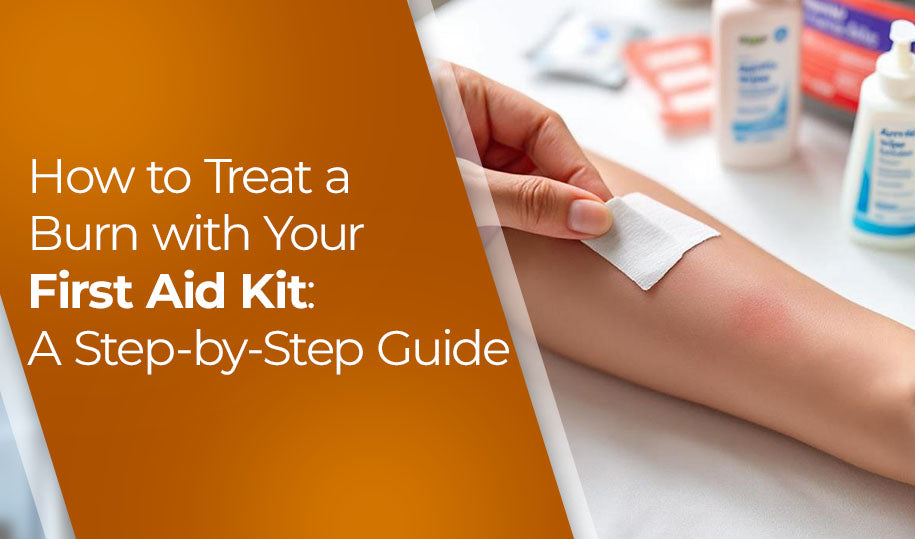
Step 3: Apply a Burn Dressing

Properly applying a burn dressing is essential to protect the injured skin and promote healing. Follow these guidelines carefully:
1. Gently pat dry the area using a clean, soft cloth or sterile gauze. Avoid rubbing the skin as this can cause further irritation or damage.
2. If any blisters have broken naturally, do not attempt to break intact blisters yourself. Broken blisters expose raw skin and increase infection risk. After gently cleaning the exposed skin with water, apply a thin layer of antibiotic ointment to help prevent infection.
3. Use sterile gauze pads or a non-stick dressing from your first aid kit to cover the burn. Dressings that adhere to wounds can cause pain and damage when removed, so non-stick options are preferred.
4. Wrap the dressing loosely, ensuring it covers the entire affected area without putting pressure on the burn. Tight bandaging may restrict circulation and delay healing.
5. Secure the dressing with medical tape or bandages, taking care not to constrict blood flow.
Applying an appropriate dressing creates a protective barrier against bacteria and irritants while maintaining moisture balance for optimal tissue repair. This step also helps reduce pain caused by air exposure and contact with clothing or other surfaces. Keeping dressings clean and changed regularly will support faster recovery and minimize complications such as infection or prolonged inflammation.
Step 4: Manage Pain and Swelling

Managing pain and swelling effectively supports the healing process and improves comfort after a burn injury.
Elevation
- Keep the burned area elevated above heart level whenever possible.
- Elevation helps reduce blood flow to the injured site, minimizing swelling and throbbing sensations.
- For example, if the burn is on an arm or leg, resting it on pillows or a raised surface can provide relief.
Pain Relief
- Over-the-counter pain medications such as acetaminophen (Tylenol) or ibuprofen (Advil, Motrin) are effective options to control pain and inflammation.
- Follow dosage instructions carefully to avoid side effects or overdose.
- Ibuprofen offers the added benefit of reducing inflammation, which may help decrease swelling around the burn area.
Additional Tips
- Avoid tight bandages or dressings that could restrict circulation and increase discomfort.
- Encourage gentle movement of unaffected parts to maintain circulation without aggravating the injury.
- Maintain a calm environment; stress can heighten pain perception.
Addressing pain and swelling promptly enhances recovery by limiting tissue damage and preventing complications such as stiffness or prolonged inflammation. This step works synergistically with proper wound care to promote faster healing and greater comfort for minor burns.
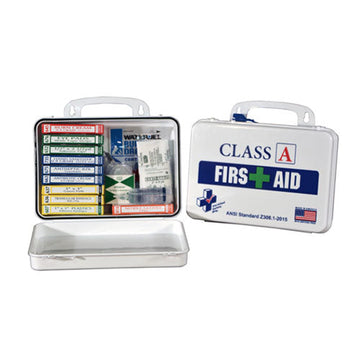
Essential First Aid Kit Items for Burn Treatment
A well-stocked first aid kit is crucial for effective burn care. Key first aid kit items for burns include:
1. Sterile gauze pads or dressings - Help protect the burn from contamination while allowing the wound to breathe.
2. Non-stick dressings - Prevent sticking to wounds, reducing pain and damage during dressing changes.
3. Antibiotic ointments - Aid in infection prevention when applied to broken skin or burst blisters.
4. Soothing burn gels - Products like aloe vera gel provide cooling relief and promote healing.
5. Antiseptic wipes or solutions - Clean the area gently around the burn without irritating sensitive tissue.
6. Nitrile gloves - Protect both the caregiver and patient by maintaining hygiene when handling wounds.
Having these essentials ready improves response time and supports proper care when treating burns with a first aid kit.
What NOT to Do When Treating Burns
Avoid common burn treatment mistakes that can worsen the injury or lead to infection:
- Do not apply toothpaste - it can irritate sensitive burned skin and delay healing.
- Avoid using butter or oils - these trap heat in the tissue and increase the risk of infection.
- Never pop blisters - they serve as a natural protective barrier against bacteria.
- Do not apply ice directly to the burn - ice can cause frostbite and further damage delicate tissues.
Steer clear of unproven home remedies such as egg whites, flour, or herbal pastes, which may introduce contaminants and aggravate the wound.
Strictly following safe practices ensures proper care and reduces complications.
Pain Management & Aftercare for Minor Burns
Proper managing burn pain and diligent aftercare for burns play a crucial role in recovery. Monitor the burn site daily for signs of infection, including:
- Increased redness
- Swelling
- Pus or unusual discharge
Change dressings regularly usually once a day or whenever they become wet or dirty to maintain cleanliness and prevent contamination. Healing generally begins within a few days, accompanied by gradually decreasing discomfort.
Maintain warmth around the injured person, ensuring they are comfortable without overheating the area. Whenever possible, keep burned limbs elevated to reduce swelling and promote circulation.
Consistent care helps in preventing infection in burns and supports faster healing.
Conclusion
Knowing how to effectively treat burns is crucial for providing immediate care. It's important to avoid harmful remedies like butter, toothpaste, or ice directly on burns. Instead, be aware of the signs that indicate when professional medical help is needed to prevent complications and ensure timely intervention.
Make sure to have a well-stocked first aid kit at home and in the workplace. This kit should include sterile gauze, antibiotic ointments, non-stick dressings, and pain relievers for quick response to burn incidents.
By understanding how to use a first aid kit to treat burns, you can confidently manage minor burns while prioritizing health and promoting faster healing.


